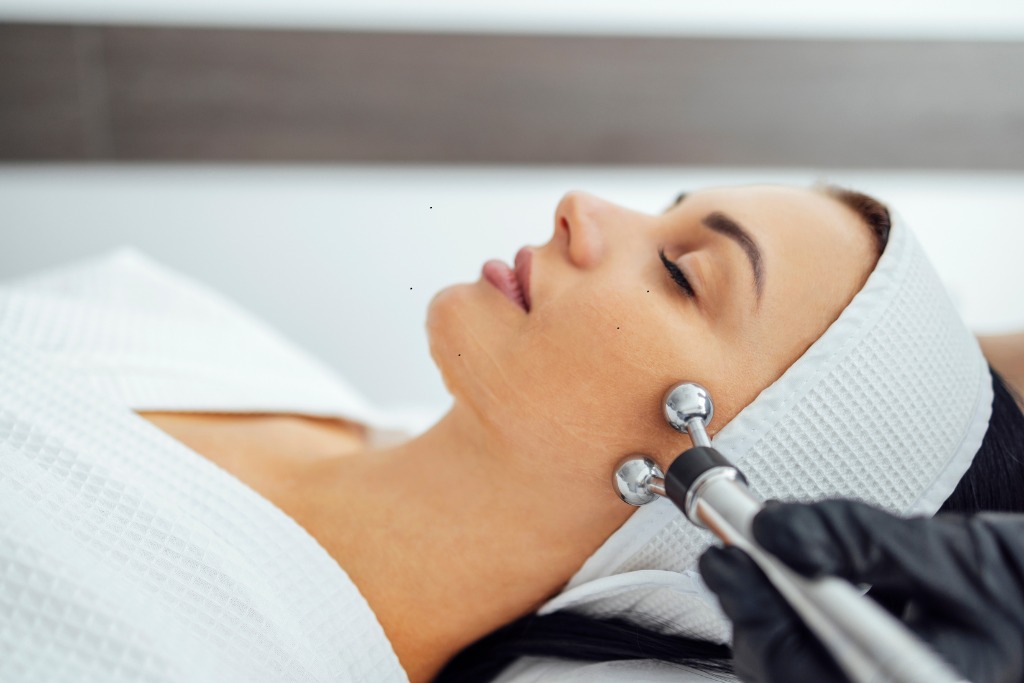
In the ever-evolving world of skincare, microcurrent bars have become a game-changer for those seeking a non-invasive way to lift, tone, and rejuvenate their skin. These sleek, handheld devices use gentle electrical currents to stimulate facial muscles and promote a more youthful, sculpted appearance. While microcurrent technology has long been a favorite of professional estheticians, now anyone can enjoy the benefits of a microcurrent treatment at home. But how exactly do you incorporate a microcurrent bar into your daily skincare routine for the best results? In this guide, we’ll walk you through the simple steps to make the most of this powerful tool and help you achieve firmer, glowing skin in no time.
What Is a Microcurrent Bar?
Before we dive into the how-to, it helps to understand what a microcurrent bar actually is. A microcurrent bar is a handheld device that delivers low-voltage electrical currents to your skin and underlying facial muscles. These currents stimulate the muscles and skin cells, helping to improve circulation, boost collagen production, and firm the skin over time.
Think of it as a workout for your face. Just like regular exercise tones and strengthens your body, a microcurrent session does the same for your facial structure. The result? Smoother skin, reduced puffiness, and more defined features.
The best part is that microcurrent bars are designed for easy, at-home use. With consistent treatment, you can begin to see visible changes in your skin’s texture and tone in just a few weeks.
Step 1: Start With a Fresh Face
Your first step is simple but essential: cleanse your face thoroughly. You want to remove all traces of makeup, dirt, and oil so that the microcurrent can effectively penetrate the skin and target the muscles underneath.
Use a gentle, non-stripping cleanser that won’t dry out your skin. Pat your face dry with a clean towel, and make sure there’s no residue left behind.
Step 2: Apply a Conductive Gel or Serum
Microcurrent devices need a water-based conductive gel or serum to function properly. This step is crucial—not just for comfort, but also for safety and effectiveness. Without the gel, the electrical currents won’t travel efficiently through your skin, and you might feel uncomfortable tingling or stinging.
Look for conductive gels formulated with hydrating ingredients like hyaluronic acid or soothing botanicals. Some microcurrent brands offer their own gels, while others are compatible with any clean, water-based formula. Apply a generous amount to the area you’ll be treating—don’t be shy with it!
Step 3: Begin Your Microcurrent Session
Now it’s time for the fun part. Turn on your microcurrent bar and gently glide it over your skin using slow, upward motions. Focus on one section at a time—such as the forehead, cheeks, jawline, and under-eye area—applying light pressure.
Most devices are designed to be intuitive. Some even come with vibration alerts or LED lights to let you know when to move to the next section.
Spend about 5–10 minutes per session, depending on your device and goals. Make sure to always move in an upward or outward direction to counteract gravity and promote lifting.
Step 4: Don’t Forget Your Neck and Jawline
The neck and jawline are often the first areas to show signs of aging, so don’t leave them out. Use your microcurrent bar to gently glide along the neck in upward strokes, starting at the collarbone and moving toward the chin. You can also trace the jawline from the chin toward the ears to define and sculpt.
Just be cautious around your throat—avoid pressing directly on the center of the neck, where sensitive structures like the thyroid are located.
Step 5: Massage in Remaining Gel and Finish Your Routine
Once you’re done, there’s no need to rinse off the conductive gel unless it feels sticky. Most gels are designed to be left on and massaged into the skin, giving you the benefits of hydration and nutrients post-treatment.
Follow up with your usual skincare products—serums, moisturizer, eye cream, and SPF (if you’re using it in the morning). Microcurrent treatments can enhance product absorption, making your skincare even more effective.
Step 6: Stay Consistent for Best Results
While it’s tempting to expect dramatic results overnight, microcurrent technology works best with consistency over time. Most users report visible lifting and firming after 2–4 weeks of regular use.
Start by using your microcurrent bar three to five times a week, then drop to two to three times a week for maintenance. Think of it like a gym routine for your face—the more committed you are, the better the results.
Bonus Tips for Success
- Use in the morning to help de-puff and contour your face before makeup.
- Drink plenty of water—hydrated skin responds better to microcurrent.
- Store your device in a dry, clean place and wipe the metal tips after each use.
Final Thoughts
Incorporating a microcurrent bar into your skincare routine may seem high-tech at first, but once you get the hang of it, it’s as simple as brushing your teeth. With regular use, this little device can help you lift, tone, and refresh your skin naturally, without harsh chemicals or invasive procedures.
If you’re serious about maintaining a youthful, glowing complexion at home, a microcurrent bar might just be your new skincare MVP.

